This post contains affiliate links to products, services, or education. We may receive a commission for purchases made through links.
Welding requires you to work with high temperatures (obviously…durp), but how do you weld without burning holes? Having the right equipment helps, but only if you know how to use it. You can do this easily with just a touch of mindfulness. Here is exactly how to weld without burning holes:
Before you begin welding, read the company guidelines listed on the electrode packaging, the specifications included with your welder, and know the thickness and type of the metal you are welding. You need the correct amperage, the ideal electrode for the base metals, and proper techniques to weld without burning holes.
When you are frequently working with temperatures over 5000° F, you have to train hard to avoid mistakes. Welding is an intricate craft that is not simple for everyone to learn. With a variety of metals and equipment to work with, a welder must know which tools are suitable for each project.
For instance, if you choose an electrode that is not designed for AC, and you use DC, your weld pool can turn into an erratic mess. To produce durable welds without damaging the base metals, you should follow all manufacturer and American Welding Society (AWS) guidelines, practice proper techniques, study the structural differences in metals, and become accustomed to different welding processes.
How To Weld Without Burning Holes
Producing an effective weld on two base metals takes a lot of practice and patience. If you become frustrated when you experience burn throughs during an important project, don’t worry. Most mistakes that occur during welding can be fixed.
Because every metal has a varying thickness, hardness, and thermal conductivity, your gear and techniques will change according to which materials require welding. The following list includes the crucial steps to weld without burning holes:
- Set up a clean workspace
- Check the AWS and manufacturer’s guidelines
- Avoid long arcing
- Avoid short arcing
- Adjust your travel speed
- Store electrodes properly
- Maintain functioning equipment
- Set The Correct Amperage
A Clean Workspace
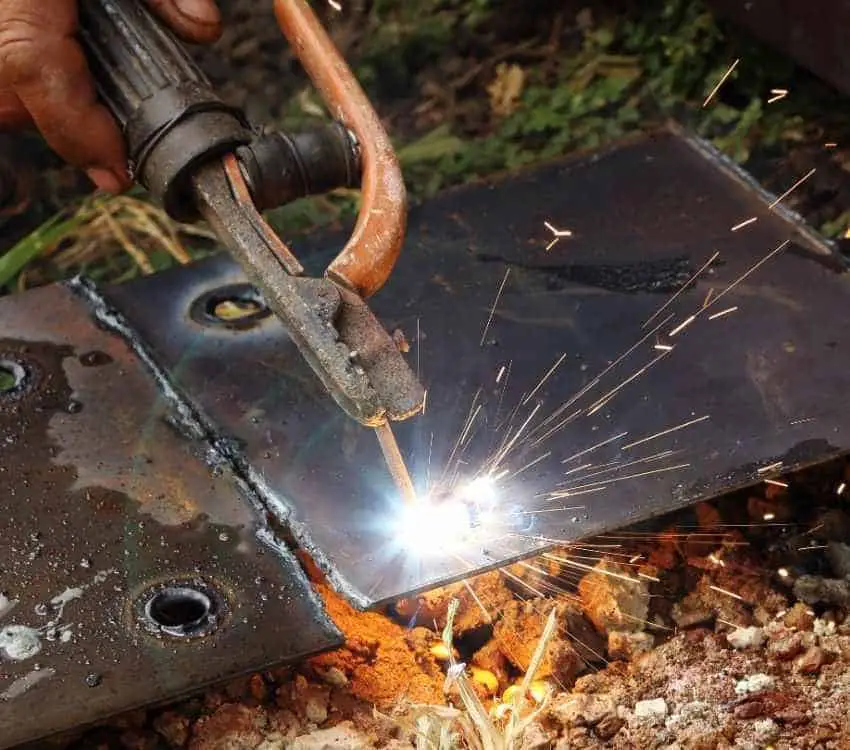
The weld pool, created when an electric arc fuses an electrode with two base metals, is more sensitive than you would think. Hydrogen and oxygen are present in the air we breathe, but they are not beneficial to a weld puddle.
Shielding gases and flux protects a weld from contaminants in the atmosphere, but other chemicals, minerals, and metal filings can interfere with the welding process. To ensure that surrounding materials cannot interfere with your work, always maintain a clean work area.
Welding shops use grinders, sanders, different types of welders, and other tools and machines every day. The remnants of the prior projects should be thoroughly cleaned and removed from your workspace.
All flammable and combustible materials should be stored away from your area. You’re more likely to experience a burn through if your base metals were accidentally covered with a flammable solvent or coating. Any material or liquid that can accelerate the heating process of metals should be removed.
Wipe down the base metals before welding and provide adequate ventilation for your workspace.
AWS and Manufacturer Guidelines
The guidelines outlined by the American Welding Society provide crucial information for a variety of welding situations. If you’re unsure which electrode or process to use when you weld an unfamiliar metal, the AWS offers the answer.
A common mistake of many amateur welders is the failure to follow the recommended guidelines. If you set your amperage to 150 and the specifications recommend 100 amps, you will have trouble controlling an erratic arc and will be lucky to avoid a burn through.
The AWS was formed in 1919, and each year their volunteer scientists and engineers work on improving the welding industry by developing new techniques and materials for welding. To alleviate any misconceptions you may have concerning a particular metal or procedure, pick up a copy of AWS’s Welder’s Handbook.
Another excellent reference for welding guidance is manufacturer specifications. When you purchase a box of electrodes, you will notice it includes detailed information regarding the rod’s composition, appropriate current to use, proper base metals to weld, and the correct settings for your welder.
If you follow the guidelines, you are unlikely to experience too many problems. The specs, like the recommended amperage, may have to be adjusted to attain a suitable weld. However, when you adjust your amperage, try reducing or increasing the number by small increments.
When the electrode maker recommends 100 amps, and you feel like the current is too low, try moving up to 105 before you try 110 or 120. By moving up in small steps, you can avoid overheating the metal and burning holes. That said, we always recommend following the manufacturer’s recommendations for a variety of safety and efficacy reasons.
Avoid Long Arcing
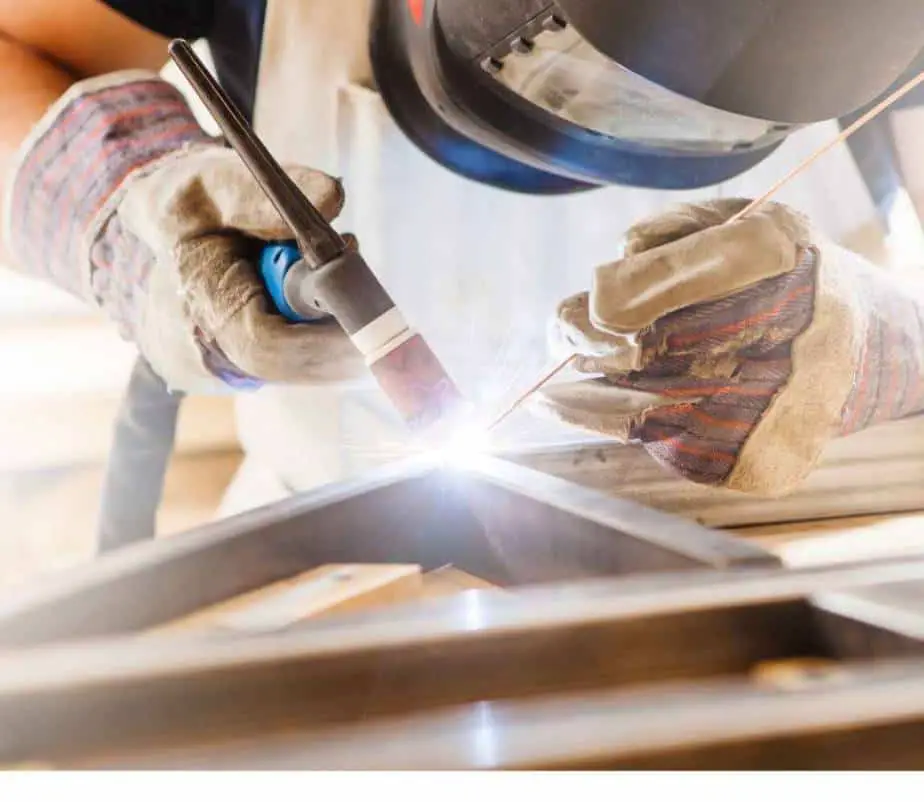
Long arcing occurs when you pull the electrode too far from the workpiece. The arc is created when a negatively charged piece hovers over a positively charged metal, and if the distance is too far, a long, unwieldy arc will form.
Long arcing distorts the weld pool and is extremely difficult to control. The large flame can overheat the metals and lead to burn through. With most welding projects, you must maintain a tight, low arc to make consistent beads and durable welds.
Before you try welding a new metal, practice on a scrap piece to see how the arc reacts and moves with the metal. You will avoid damaging the base metals if you’re familiar with the metals you weld.
Avoid Short Arcing
Short arcing happens when your electrode is too close to the base metals. If you keep the electrode too close to the workpiece, a short arc will develop that can cause the electrode to stick to the base metals.
You can turn off the welder and twist off the electrode if it sticks, but continued short arcing can weaken the metal. The weakened base metal is more susceptible to burn throughs and will not support a viable weld.
There is a big difference between keeping a tight arc length and a short arc length. Here is a great video on how to gauge your arc length while TIG welding.
Adjust the Travel Speed
When your amperage is not set too high, and you have a controlled, tight arc, you can still burn through the workpiece. Another factor that can contribute to a burn-through is the travel speed.
The travel speed is the speed that you move the weld pool along the base metals. For metals that have a lower thermal conductivity, you must adopt a slower speed. In the case of a metal like aluminum, you have to use a brisk travel speed to avoid damaging the metal.
Aluminum is a soft metal that has high thermal conductivity and will quickly melt if you maintain a slow travel speed. Softer metals can burn through rapidly if you leave the weld pool in one position for too long.
If you experience damage or burn-throughs on the workpiece, try using a swifter travel speed to finish the weld.
Store the Electrodes Properly
TLDR: Get an electrode oven if you don’t already have one. We have a few electrode storage recommendations here to get you on the right track.
Arc welders use flux coated electrodes to weld metals, and the rods are fragile tools that will break if they’re not handled or stored correctly.
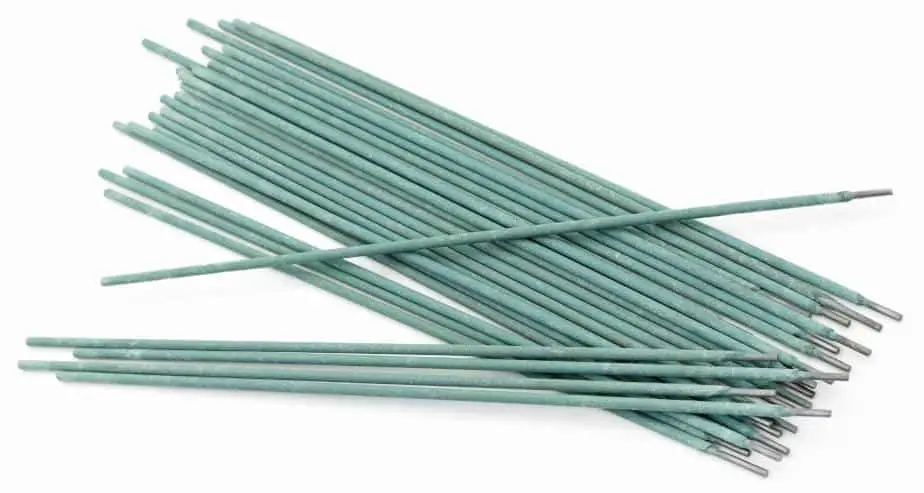
Examine your welding rods before you use them to ensure that they’re entirely intact. A misshapen rod with crumbling flux can result in a violent weld pool and a poor weld. A wild pool is harder to control, and it’s easy to overheat or burn through the base metal when you lose control of the puddle.
Electrodes will rapidly degrade if you fail to seal them in an airtight container or electrode oven. Keep your sticks dry and sealed off from humid conditions.
Maintain Functioning Equipment
Before you begin a new project, remember to inspect your equipment. Your welder should be checked for frayed cords or wires and blown fuses. Inspect your stick holder and make sure that it is not covered in spatter.
Clean the holder with a wire brush to remove excess spatter and wipe it with a clean, dry cloth.
Your welding machine produces a hazardous amount of electricity, and if it malfunctions, it can cause burn-throughs and possible bodily harm. If you discover a problem with your machine, find someone to service the welder before you operate it.
Set The Correct Amperage
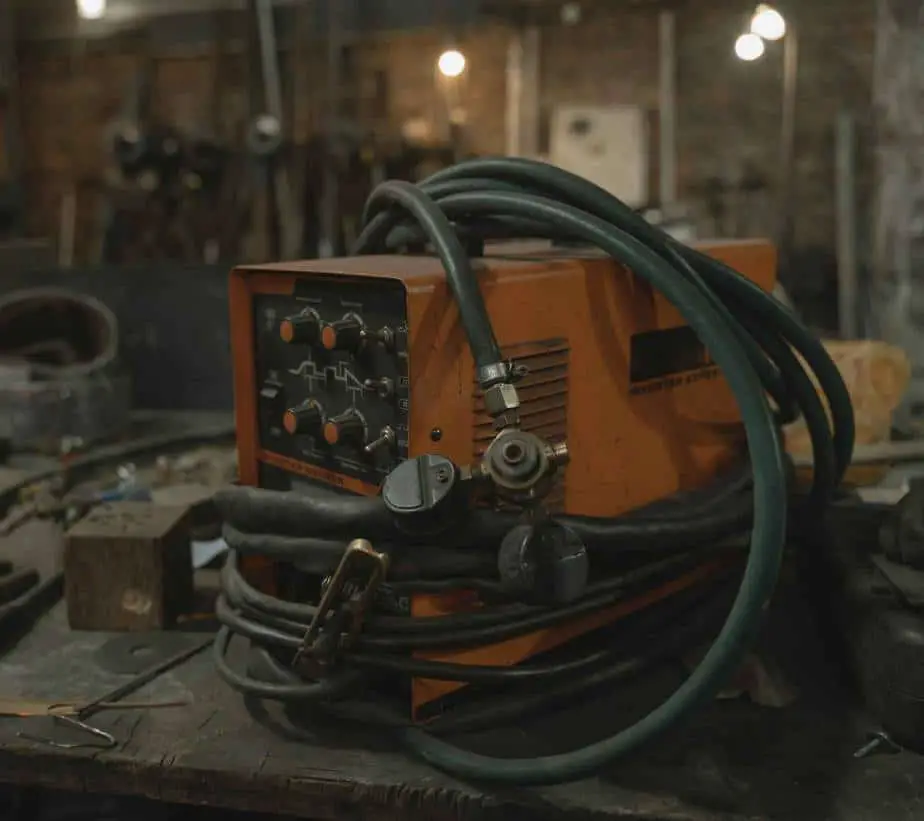
We touched on this earlier when we talked about following the manufacturer’s directions on the electrode. If you need to go up for some reason, do so very slowly (if at all). You may want to check your arc length, or possibly double-check your material thickness or electrode selection first.
The instructions will tell you what amperage you need to set your machine at. Setting your machine too high or too low will not get you the quality weld you want. Regulate your speed, double-check your settings, and re-read the recommendations before adjusting this too far out of the recommended settings.
Why Does Burn Through Happen?
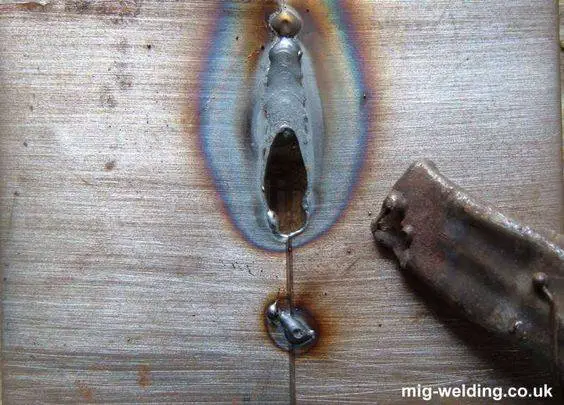
Burn throughs can occur in welding for several reasons. Whether you are using the SMAW, MIG, or TIG process, you can burn through the workpiece if you are unfamiliar with the metal, appropriate machine settings, or proper techniques of the process.
Fusing metals in the welding process requires high temperatures, and sometimes, the intense heat results in small holes in the metal. The following list outlines the possible reasons for burn throughs.
- High amperage
- Failure to prep metals
- Uneven weld joints
- Unsuitable electrodes
- Incorrect process for thin metals
- Slow travel speed
- Incorrect machine settings
- Equipment malfunction
High Amperage
The number one reason for burn-throughs in welding is high amperage. The amperage controls the amount of current (either AC or DC) flowing through the workpiece and the electrode and increasing the amperage results in higher arc temperatures.
More challenging and thicker metals require higher levels of amperage to produce effective welds, but thinner metals benefit from lower amps. Sheet metal is an example of a thinner material that requires less penetration and heat in the welding process.
If you weld a thin piece of metal with a higher than recommended amperage, the electric arc can burn through, rather than fuse, the base metals. The manufacturer’s settings for amperage settings should only be adjusted in small increments to avoid burn-throughs.
Failure to Prep
Some metals require a substantial amount of prep work before welding can occur. Galvanized steel and aluminum have coatings that must be removed before you weld.
The zinc coating from galvanized steel produces toxic yellow smoke when it’s welded, and when it transforms into zinc oxide, the weld pool becomes erratic and difficult to control. When you cannot focus the weld pool into the joint, the base metals can become overheated and eventually burn through.
Aluminum has an oxidized film on its surface due to the metal’s reaction to oxygen in the air. Like galvanized steel, the film should be removed to avoid a violent response in the weld puddle. In the case of galvanized steel, you can use a grinder or medium-grit sandpaper to remove the coating.
With aluminum, use a wire brush to remove the film, and wipe the metal with a dry cloth. Prep your coated metals thoroughly, and you will avoid overheated and unruly weld pools.
Uneven Weld Joints
Before you weld two base metals, sometimes you have to grind down or cut the metals to produce an even seam. When you line up the metals on your work table, be sure to examine the entire length of the joint to ensure it is uniform.
An even joint will allow you to execute a consistent, clean bead. A wide gap in the joint will enlarge when it is heated by the arc and can result in a larger hole or burn through.
Unsuitable Electrodes
The information printed on an electrode’s packaging contains essential information regarding the electrode’s composition, current and amperage settings, appropriate metals to weld, and recommended techniques.
Some electrodes, like the E-6013, are effective in all current settings and require fewer modifications to the machine settings. However, several electrodes are only effective with one current and should only be used with either AC or DC.
Since each electrode type is coating with different materials, it is essential to make each rod with its appropriate current. When you use a 6010 rod with AC, you risk overheating the workpiece and creating holes.
DC is the only recommended setting for a 6010 electrode, and disregarding the recommendations can lead to damaged metals.
If you damage your metals, your not having a good time.
Incorrect Processes
Some projects are suited for specific types of welding machines. TIG and MIG welding are suited for detailed work on thinner metals. If you use an arc welder on soft, thin metal, you risk damaging the workpiece.
The high temperature of a stick welder’s arc is sometimes too intense for softer metals. If you continuously burn through metal with an arc welder, you may have to switch over to a MIG or TIG welder.
Slow Travel Speed
If the amperage and current levels are set at the proper rate, and you continue to have issues with burn through, you may have to adjust your travel speed.
Slow travel speed is recommended on broader, more substantial joints, but on thinner metal like aluminum, you have to increase your speed.
Use a fast, consistent travel speed on thin metals. You are less likely to burn through the workpiece if you move quickly.
Incorrect Machine Settings
The recommended settings for your welder and its components are the results of thousands of hours of research. Although you have to adjust the settings for each situation, you’re unlikely to experience multiple burn-throughs if you follow the guidelines.
If you set your welder on the wrong current or polarity, you are unlikely to make a suitable weld. In some cases, you may even burn through the metal. Double-check your electrode’s appropriate settings before you weld, and you will not overheat or damage the metal.
Equipment Malfunction
Although it is less likely to happen than other factors, equipment malfunction can also cause burn-throughs. If the welding machine malfunctions, it can overheat the base metals and lead to burn through.
Before you start a job, inspect your machine and its components to ensure everything in working order.
Can You Fix a Burn Through?
Burn-throughs are a troubling occurrence, but rest assured, most holes can be fixed. If the hole is immense and supports the structural integrity of the piece, the metal may have to be replaced.
Cosmetic burn throughs are simple to repair and seldomly require you to replace the metal. The following steps indicate how to fix a burn through.
- Clean the metal
- Make several small, tack welds
- Remove the slag and wipe down the metal
- Repeat the process
- Check for holes and repeat the process if holes remain
Clean the Metal
You will probably have to grind away some of the prior weld to make the surface flat and uniform. Remove any rust or film from the metal and wipe it down with a clean cloth.
Prepare the hole in the same way you would prep a new workpiece.
Multiple Tack Welds
Unlike an unaltered joint or seam, a burn-through requires you to make several tack welds to the piece. Rather than creating a long continuous bead, you will make several small beads to cover up the hole.
By laying multiple beads in the hole, you are providing structural support for the next round of welding.
Remove the Slag and Clean the Metal
Chip away the slag layer and use a grinder to flatten the welded beads in the hole. After you wipe down the metal, examine the metal for any remaining openings.
Repeat the Process
Fixing a burn-through will usually require you to perform at least two rounds of welding. After the first round, focus your beads on the remaining gaps in the weld. Repeat the tack weld technique and clean the workpiece to see if it requires additional welds.
Check for Holes
If you see any additional pits or small holes after two rounds of welding, repeat the process to fill the holes. If not, your repair was successful, and you can move on to something else. Check out this video to see a welder demonstrate how to repair a hole.
How Can You Avoid Burning Holes in Welding?
Although you are likely to experience burn throughs in your welding career, you can avoid them if you follow a few helpful tips.
- Follow the AWS and manufacturer guidelines
- Adjust your machine settings
- Use the process that is right for the job
- Use the proper techniques
Follow the Guidelines
It is not always fun to follow the rules, but if you want to save a lot of time (and save your company money), follow the guidelines of the AWS and the manufacturers of welding supplies.
If you disregard the recommended settings for your machine and its components, you risk damaging your workpiece and your equipment. In the worst-case scenario, you can also cause harm to yourself or your coworkers.
Adjust Your Settings
If you notice at the beginning of a project that your arc temperature is too high, lower the amperage and try again. After a lot of practice, most welders can hear the difference between a low amperage weld and a high amperage weld.
Stick welders, MIG welders, and TIG welding make different sounds during the welding process. However, each machine makes a distantly different sound when the amperage is too high or too low.
To avoid burning holes, make frequent adjustments to your machine to find the ideal settings.
Use the Correct Process
As previously mentioned, stick welding is not as effective on smaller, detailed projects. If you need to weld thin pieces of soft metal, try using a MIG or TIG welder.
The arc flame from a stick welder is too intense for some metals and will burn through a workpiece easily.
Use the Proper Techniques
Your travel speed and electrode angle influence the stability of the weld puddle. If you use too sharp of an angle with the electrode, you can overheat the metal and burn through it. To produce a durable weld, you must focus the weld pool into the joint rather than the metal’s surface.
When the arc wanders away from the joint and begins to melt the surface, the metal weakens and develops holes. It takes practice to learn the correct techniques for each situation, but it will eventually become second nature to you.
Lastly
You are unlikely to produce a perfect weld in your initial attempts, and you may become frustrated when you burn through the base metals. Remember that welding is a complex process that is not easily mastered.
If you train hard and study the fundamentals of welding, you will be making incredible welds without worrying about a possible burn-through in no time.
